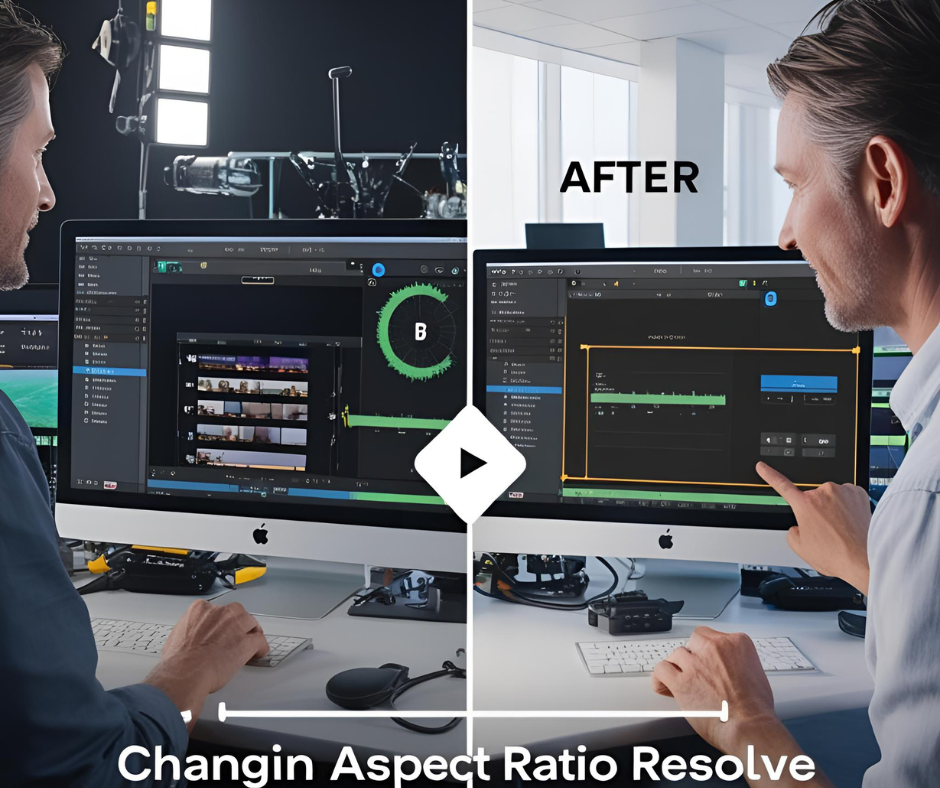
Changing the aspect ratio in DaVinci Resolve isn’t just a technical process- it’s also a creative decision that can change where and how your video is perceived. Want your video to be full cinematic, fit perfectly on Instagram, or go viral on TikTok? I’ll guide you through the process in an easy-to-follow format.
- What is Aspect Ratio and Why is it Important?
- Steps to Change Aspect Ratio in DaVinci Resolve
- DaVinci Resolve: Key Points
- How do I change aspect ratio dynamically in DaVinci Resolve?
- Advanced Techniques For DaVinci Resolve
- Common Aspect Ratios and Where to Use Them
- FAQ: How To Change Aspect Ratio In DaVinci Resolve
- How do I change the aspect ratio of my video in DaVinci Resolve?
- Can I change the aspect ratio of an existing project in DaVinci Resolve?
- What is the difference between timeline resolution and aspect ratio?
- What is the best aspect ratio for YouTube videos in DaVinci Resolve?
- Will changing the aspect ratio crop or distort my footage?
- Can I export my video in a different aspect ratio than my timeline?
- Can I animate aspect ratio changes within a single video?
- What are the most common aspect ratios and their uses?
- How can I create several video versions for different platforms?
- Why does DaVinci Resolve export the wrong aspect ratio flag?
What is Aspect Ratio and Why is it Important?
Aspect ratio is a ratio of a video’s width compared to a video’s height. A 16:9 rectangle (standard for YouTube / TVs), 1:1 square (Insta feed), or a 9:16 vertical (TikTok, Instagram Reels).
The right aspect ratio format dictates how your video can best be perceived on the many platforms, and can change the feel/mood/style of your content.
Steps to Change Aspect Ratio in DaVinci Resolve
1. Open the Project
Open DaVinci Resolve and open the project you’d like to edit.
2. Open Project or Timeline Settings
- Click the gear icon in the bottom right of the window to open Project Settings.
- Or open your timeline in the Media Pool, right-click, and then select Timelines > Timeline Settings.
3. Change your Timeline Resolution and Aspect Ratio
- In the Master Settings tab, find the Timeline Resolution.
- If “Use Project Settings” is checked, uncheck it, as it will not allow you to have custom options for this timeline only.
- Select a preset resolution (i.e., 1920×1080 for widescreen, 1080×1920 for vertical, or 1080×1080 for a square) or enter your resolution dimensions. For example:
- 16:9 (YouTube/TV): 1920×1080
- 9:16 (TikTok/Reels): 1080×1920
- 1:1 (Instagram Feed): 1080×1080
- If using a standard resolution preset, ensure Pixel Aspect Ratio is set to “Square” (1.0).
- Hit Save or OK to save your changes.
4. Crop and Reframe Your Clips
- After changing the aspect ratio, some clips may not fit into the frame of your new project. You may have black bars showing or undesired cropping happening.
- Select each of the clips in your timeline.
- Open the Inspector panel (top right).
- You can use the Zoom and Position controls to resize and reposition your footage so it fills the new aspect ratio without losing important information.
5. Change Output Settings For Export
- Now go to the Deliver page to export.
- Be sure that your export resolution matches the settings you put in your timeline to avoid black bars or stretched footage.
- In the Output section, select Scale full frame with crop, and that will zoom and crop your clips to fill your frame vertically as needed.
- Click Add to Render Queue and select the export.
6. Tweak and Preview
- Scrub through your timeline and look at all of your clips, and make any further updates in the Inspector if something doesn’t look right.
- Open the Safe Area overlay (in the View menu), so you can preview how your video will look in your new aspect ratios and ensure you aren’t cutting anything super important off.
DaVinci Resolve: Key Points
Always change the aspect ratio first, then add any text or overlay, or else you run the risk of not aligning text that you added to the timeline afterwards.
If you want a few different versions (for YouTube, TikTok, Instagram, etc.), duplicate your timeline before you change the aspect ratio.
Adjustment Clips are a great option if you create a lot of variations, as “Adjustment Clips” allow you to have adjustment clips in each of the aspect ratio builds, without changing things in your main edit.
Always check your framing after changing any aspect ratio to ensure parts of your video aren’t getting cropped out.
How do I change aspect ratio dynamically in DaVinci Resolve?
If you want to switch an aspect ratio dynamically in a single video in DaVinci Resolve-meaning you want the aspect ratio to change during playback (for example, from widescreen to vertical or to crop it cinematically)-you’ll need to employ some advanced tools in Resolve like the Fusion tab or adjustment clips, because timeline settings only allow you to apply one aspect ratio for the whole timeline.
How to Dynamically Change Aspect Ratios
1. Using Fusion to Change Aspect Ratios Dynamically
- Go to the Fusion tab for the chosen clip or timeline.
- To create a custom aspect ratio frame through Fusion, add a background or solid color node and leverage a rectangle (shape) node to draw the aspect ratio rectangle (your area).
- Keyframe the mask size and position over time to animate the changes (for example, you could incrementally reveal black bars over time to create a cinematic look).
- You’ll connect the mask/aspect ratio rectangle to your media so that at any given moment, only the part you want to reveal is visible.
This workflow is optimal for other effects that leverage letterboxing or dynamically shifting between different cinematic looks in a single full-length video.
2. Using Adjustment Clips for Multiple Aspect Ratios
- Put an Adjustment Clip on top of your photos in the timeline.
- Put cropping or transform effects on the Adjustment Clip. For example, add black bars, or change the state of the visible area.
- Keyframe those effects to make changes to the aspect ratio at specific points in the video.
This allows you to have transitions between aspect ratios without altering the footage underneath, and is perfect for preparing edits for multiple platforms.
3. Masking for Cinematic Effects
- On the Edit page, use the Crop controls in the Inspector or add an opaque color generator as an overlay.
- Keyframe the crop, or overlay, to animate the black bars in and out. This will give the appearance of a change in aspect ratio.
Advanced Techniques For DaVinci Resolve
Using Fusion for dynamic aspect ratios. Head to your Fusion tab to create a custom mask and animate the aspect ratio or even various versions (e.g., shifting your project from widescreen to vertical mid-point in your video).
Export Settings- make sure to export with the same settings as your timeline to avoid black bars or unwanted cropping.
Common Aspect Ratios and Where to Use Them
| Aspect Ratio | Resolution Example | Best For |
| 16:9 | 1920×1080 | YouTube, TV |
| 9:16 | 1080×1920 | TikTok, Instagram Reels |
| 1:1 | 1080×1080 | Instagram Feed |
| 2.39:1 | 1920×804 | Cinema, Film |
FAQ: How To Change Aspect Ratio In DaVinci Resolve
How do I change the aspect ratio of my video in DaVinci Resolve?
To change the aspect ratio, right-click your timeline in the media pool, select “Timeline Settings,” and uncheck the option “Use Project Settings.”
From here, you can enter a custom resolution (i.e., 1080×1920 for vertical, 1080×1080 for square, or 1920×1080 for standard widescreen), and then all you do is click Save!
Can I change the aspect ratio of an existing project in DaVinci Resolve?
Yes, it is possible to change the aspect ratio of an existing project in DaVinci Resolve at any time. Once you have the project open, go to the timeline settings by right-clicking your timeline in the Media Pool and selecting “Timeline Settings.”
In that dialog, you will see an option that says “Use Project Settings” – uncheck this box to unlock the resolution options. You can then select a preset or manually enter a custom resolution to set the aspect ratio that you wish, like 1080×1920 for vertical video, or 1080×1080 for a square format.
Once you apply the changes, you may need to once again zoom and/or reframe your footage in the Inspector panel to fit the new aspect ratio without any unwanted black bars or cropping.
What is the difference between timeline resolution and aspect ratio?
The timeline resolution refers to the pixel dimensions (width x height) of the video, and the aspect ratio refers to the proportional relationship between those two dimensions (i.e. 16:9, 1:1, 9:16).
It is important to note that if you want to maintain your aspect ratio, you can not change the resolution and aspect ratio independently.
If you make your resolution larger or smaller, your aspect ratio will also change unless you keep the proportions the same.
RELATED POSTS:
The Ultimate Guide to the Best Lens for Event Photography in 2025
How to Start a Photography Business in 2025
What is the best aspect ratio for YouTube videos in DaVinci Resolve?
The optimal aspect ratio for YouTube videos in DaVinci Resolve is 16:9, which has a resolution of 1920×1080 for Full HD or 3840×2160 for 4K Ultra HD. Widescreen is the industry standard for YouTube, so when you upload your video, it will play back correctly on all devices without cropping or having black bars.
To set up your project when you open DaVinci Resolve:
- Go to your timeline settings.
- Change the resolution to 1920×1080 (HD) or 3480×2160 (4K).
Make sure the aspect ratio is 16:9, because this is the most common and recommended aspect ratio for YouTube.
Suppose you set up your video in a different aspect ratio, such as vertical (9:16) or square (1:1). In that case, YouTube will add black bars to the sides of your video when you upload your video to fit into the widescreen player, which can detract from the viewer experience.
Will changing the aspect ratio crop or distort my footage?
Changing the aspect ratio can result in black bars (letterboxing/pillarboxing) or cropping if your original footage doesn’t match the new ratio.
You may need to use the Inspector panel to zoom and reposition your clips so they fill the new frame without unwanted cropping or empty space.
Can I export my video in a different aspect ratio than my timeline?
Yes, but it is best to set your export settings to match your timeline resolution to manage expectations. The Deliver page gives you the option to export to a different resolution, but if it doesn’t match your timeline, you may end up with black bars or an odd, stretched image.
Can I animate aspect ratio changes within a single video?
Yes, you can createa dynamic aspect ratio transition in DaVinci Resolve by using the Fusion tab to animate masks or overlays for creative effects and transition from widescreen to vertical mid-video.
What are the most common aspect ratios and their uses?
- 16:9 (1920×1080): Standard for YouTube, TV, and most online platforms
- 9:16 (1080×1920): Vertical, for TikTok, Instagram Reels, YouTube Shorts
- 1:1 (1080×1080): Square, for Instagram Feed, Facebook
- 2.39:1 (e.g., 1920×804): Cinematic widescreen, used in films
How can I create several video versions for different platforms?
You can duplicate your timeline and choose a different aspect ratio every time (such one for YouTube and another for Instagram). You can use adjustment clips and reframe your footage to optimize each version of every platform.
Why does DaVinci Resolve export the wrong aspect ratio flag?
There are times, depending on the codec, that the exported file will not have an aspect ratio flag matching your timeline settings. You will want to double-check the export settings to fix this or use something external (like ffmpeg) to change it as needed.