Labeling your photography medium may not seem like that big of a deal, but it is a critical piece of professional presentation.
Labeling is something you’d consider when you’re exhibiting work, preparing a portfolio, or archiving images for posterity. Labeling any part of your work is a tremendous way to give meaning and depth to your work, especially photography.
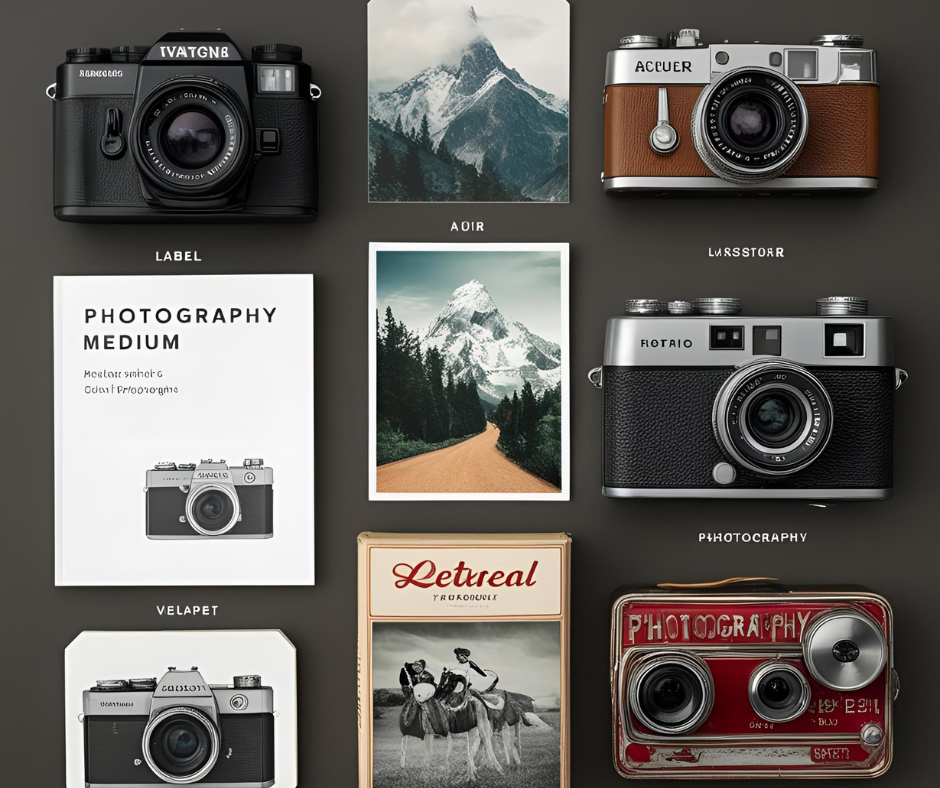
There are several key components to labeling the photography medium, which I will explain here, along with any other common queries you might have as a photographer about the process of labeling the medium of the photograph.
1. The importance of labeling.
First, but first and foremost, we need to explore the importance of labeling and what is involved. If you didn’t know why labeling is important, here’s why:
Besides being important to identify a piece, labeling can provide context, maintain value, and really helps viewers connect with the work so that you can more effectively communicate with your audience and convey the intended meaning of your photographs.
Why is labeling important?
Professionalism – well-labeled work will always better capture attention and interest in both a gallery and/or an exhibition.
- Context – Labeling provides a great deal of context for the story of the image and generally improves engagement with the viewer.
- Organization – labeling provides an efficient way of managing your portfolio or archive.
- Sales & Inquiries – labeling can clearly communicate a distinction between artworks, while still succession connections with the work more importantly.
2. Information required on a photography label
A good label includes as much of the following information as possible without excessive wordiness and repetition.
Key Elements of a Photography Label:
- Artist’s Name: Your full name or professional alias.
- Title of the Work: Either a creative title or a simple description.
- Date: When the photograph was taken or printed.
- Dimensions: Size of the print (height x width, in inches or centimeters).
- Medium: The photographic process (e.g., “Archival Pigment Print,” “Silver Gelatin Print”).
- Paper/Material: Type of paper or substrate used (e.g., “Hahnemühle Photo Rag”).
- Additional Context: Location, inspiration, or technical notes if relevant.
- Representation: Gallery or agent, if applicable.
- Price/Status: Price or “Not For Sale” (NFS) if displayed in an exhibition.
Sample Label:

Jane Doe
“Morning Mist,” 2025
Archival Pigment Print on Hahnemühle Photo Rag
16 x 20 in.
Shot in Yosemite National Park
Represented by Blue Sky Gallery
3. Labeling Digital or Physical Photos
Labeling processes vary for your work and whether your work is digital or physical, and each medium has different recommended practices.
Digital Photos
Metadata: Using a program such as Adobe Lightroom (or similar) to label your image files is best practice. You can directly add a title, description, keywords, copyright information, etc., into your image file.
File Naming: The most important thing is to use a consistent and descriptive file name (Ex. 2025_Yosemite_MorningMist_Doe.jpg).
Backup: It would be helpful to have an alternate copy of all label information, so keep a spreadsheet or catalogue.
Physical Prints
Made of Reading and etching tools: For fiber-based prints, always use a #2 pencil (or other non-destructive writing implements), and consider using archival markers on coated papers.
Where to write: You can write label information on the back of your print, on the mat, or as an alternative, you can place a non-obvious label in the frame.
What Materials are to be Used: Acid-free label, acid-free ink pen can be used so that the labeling does not deteriorate.
4. Design and Readability
The label should be relevant, readable and consistent with your presentation. Here is how to be successful with a label.
- Font: You would choose a basic and professional typeface such as Arial, Times New Roman, etc.
- Font Size: For exhibitions, use a 20-24 pt font size to have the labels readable from a reasonable distance.
- Consistent Design: Maintain the same format, font, and font size for all of your labels.
- Use Templates: You can quickly make labels in Word and InDesign using templates to produce your labels systematically.
- Test Readability: Print a sample and check visibility under gallery lighting.
RELATED POSTS:
How to Start a Photography Business
Download 100+ Full HD Photo Editing Backgrounds
5. Advanced Strategies for Labeling
After you feel comfortable with labeling your work, you might want to incorporate some advanced options to increase depth and viewer engagement with your labels.
- QR Codes: Consider linking to your website or a portfolio page, or to a behind-the-scenes video of the making process.
- Personal Context: As a way to engage your viewer more deeply with the image, tell a brief story or anecdote about the image.
- Edition Information: If your work is part of a limited edition, state where your artwork is presented in that edition (example: “Edition 3/10”).
- Series Labels: If labeling a series of works, consider adding a brief text of the series’ overall theme.
6. Preservation and Best Practices
Not only is proper labeling about presentation, but it is also about preserving your work for the long term.
Archival Quality Materials: Always choose acid-free materials, including paper, pens, and adhesives.
Digital Backups: Keep a digital record of all label texts.
Consistent storage: Store labeled images either in an archival sleeve or box that is kept away from direct sunlight and humidity.
Conclusion
Labeling your photographic medium is a simple effort with lasting effects and separates your work from others. It is “professional, preserves crucial information, and involves the audience with the work.” It is likely the only opportunity to leave a lasting impression.
You will inform yourself and others about the subject, photographer, and ultimately, how the image will be presented in terms of the label.
Following these guidelines ensures the images you take are presented in the most accurate and best way that you can, whether that be through galleries, website pages, or even in your archive.